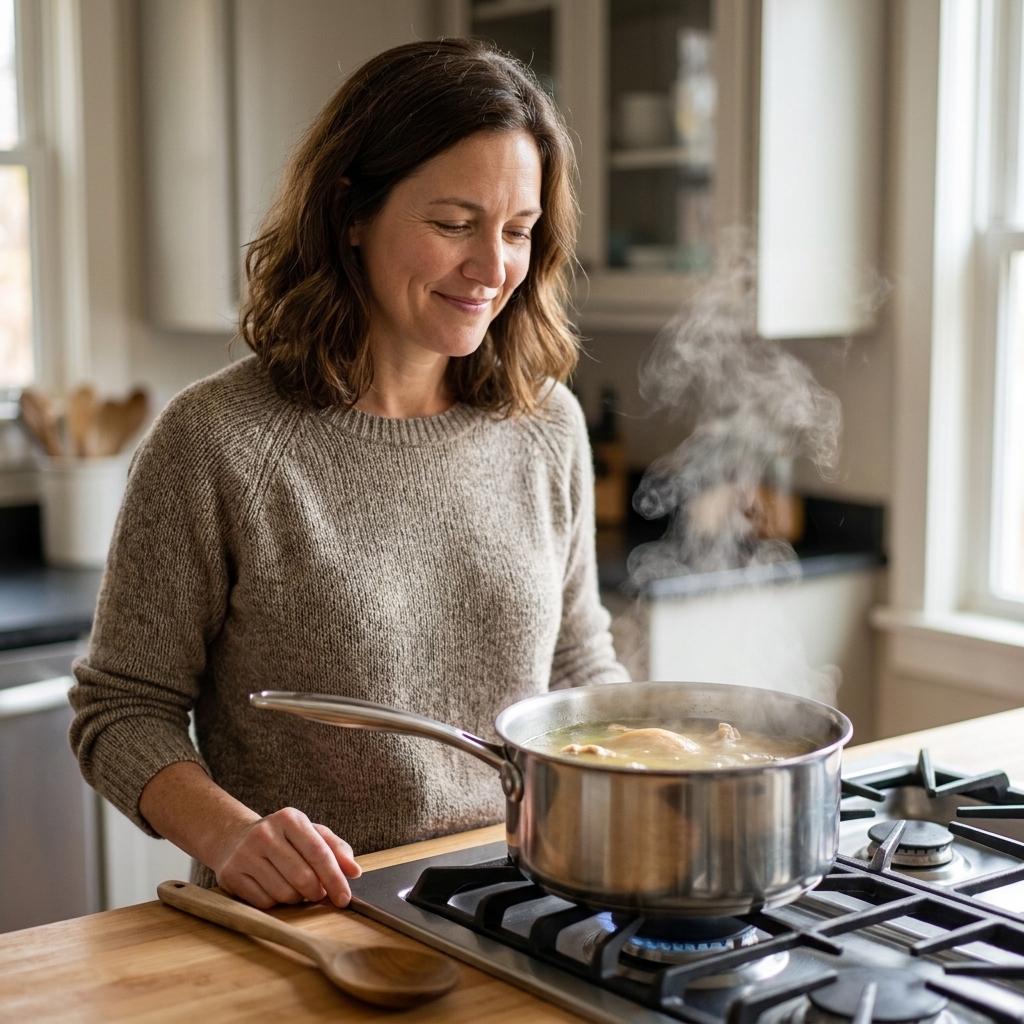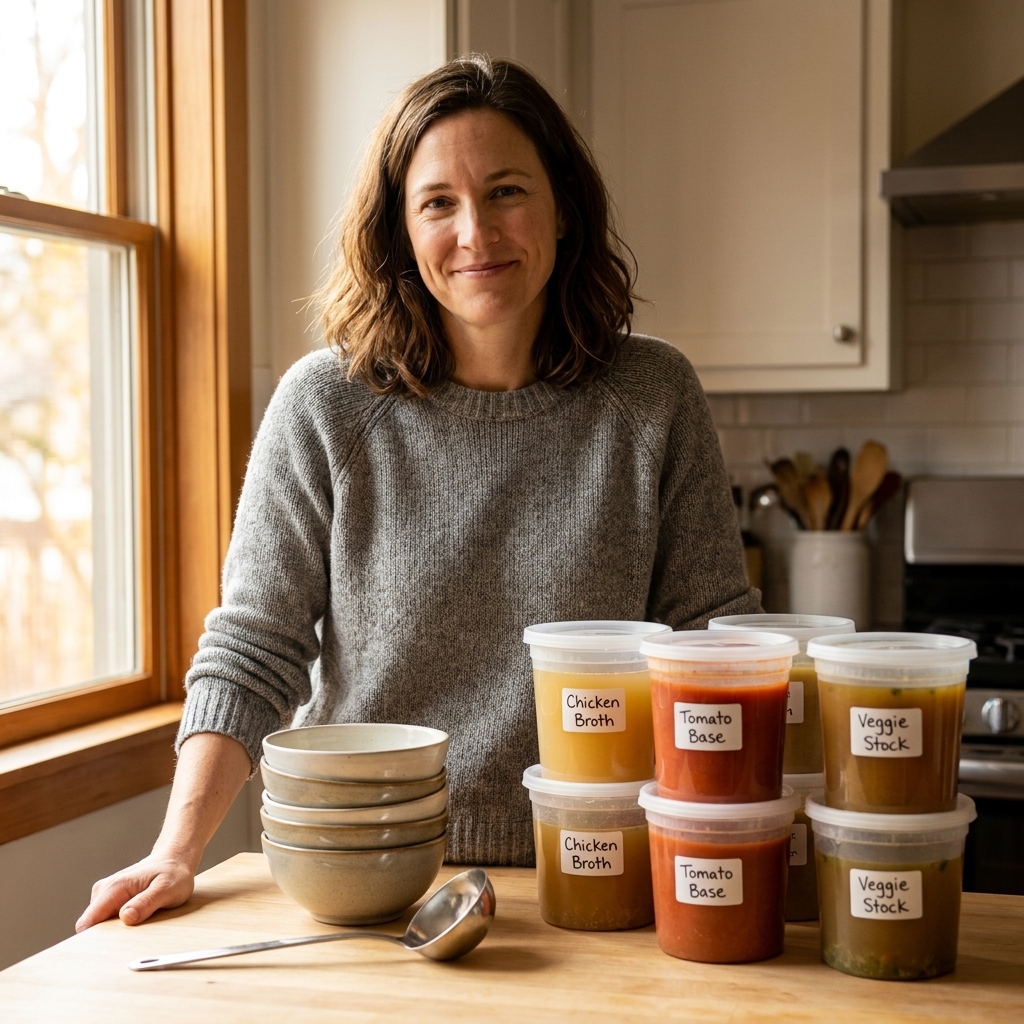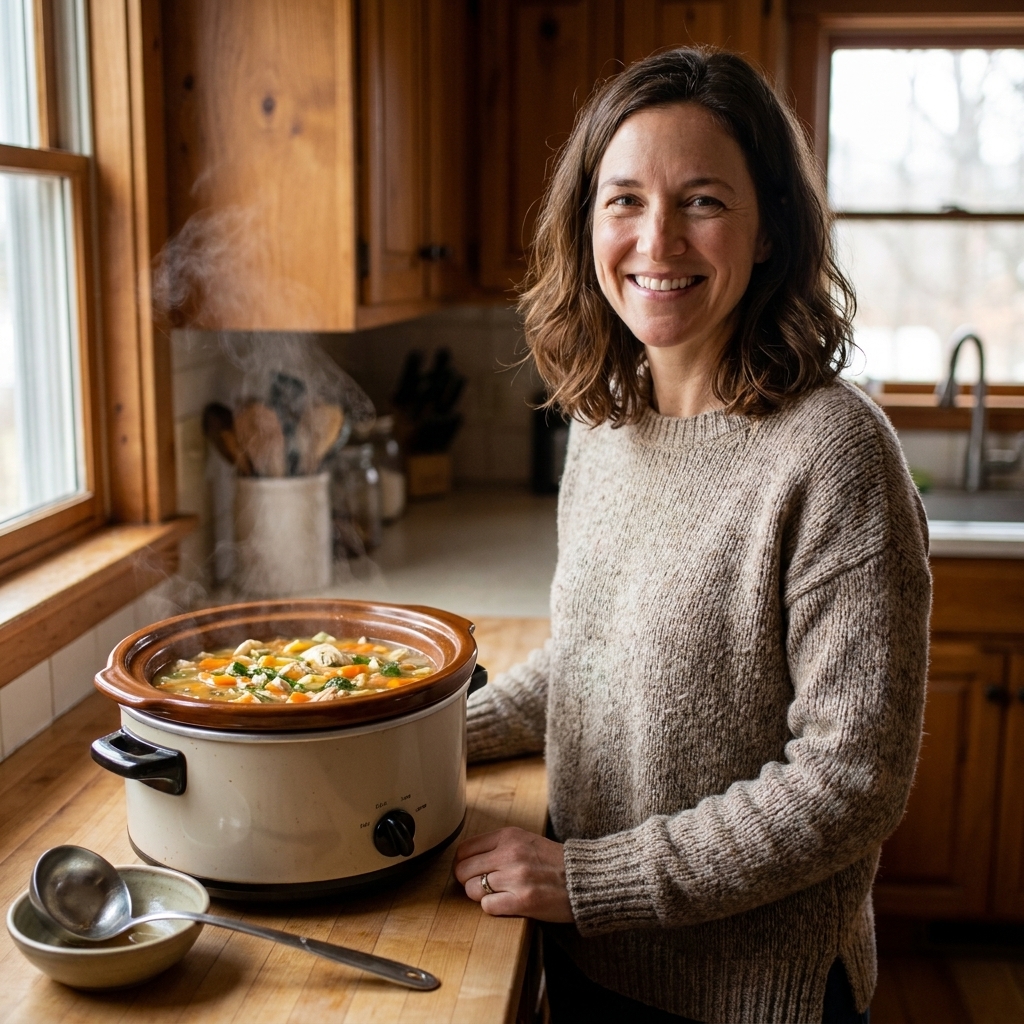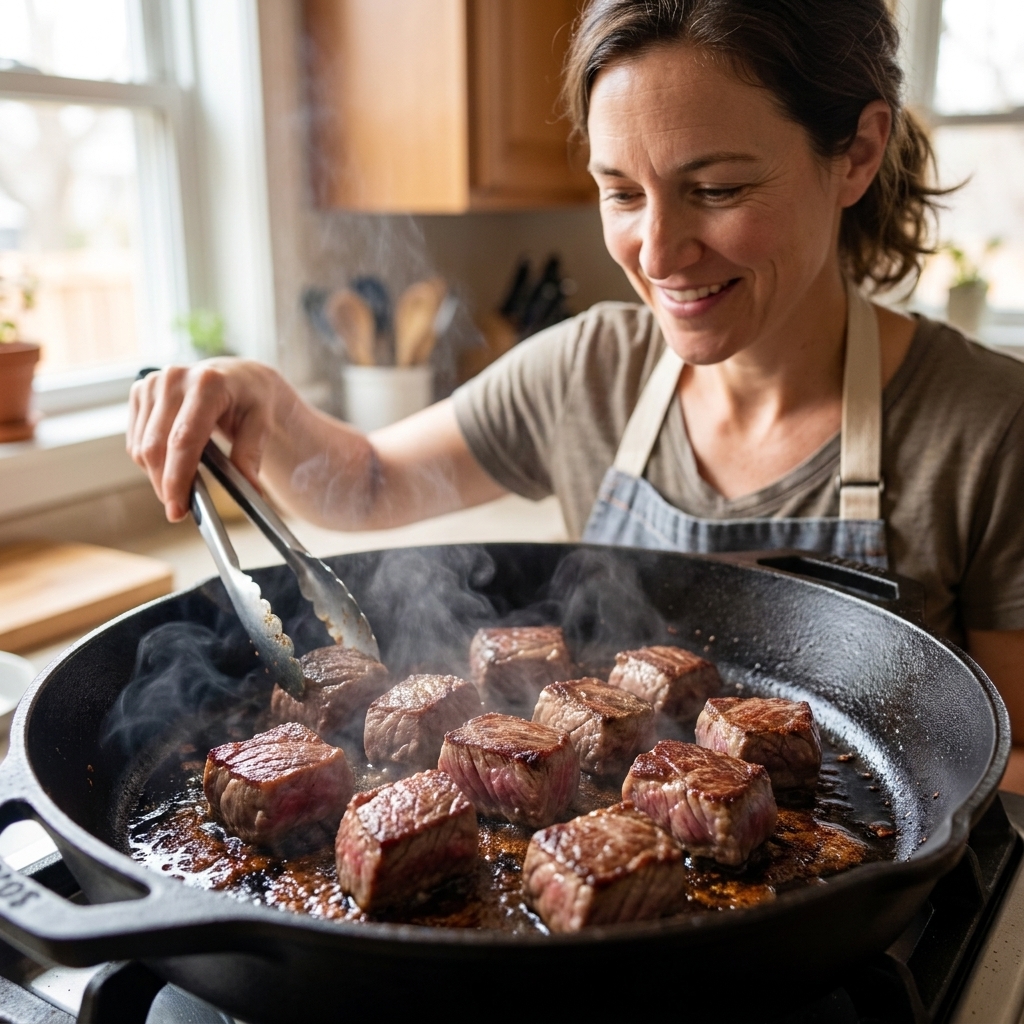
If you have ever wondered why soup from your favorite little diner tastes like it has a secret ingredient, here it is: a proper broth that has had the time to do its thing. This 24-hour slow cooker bone broth is my go-to “cook once, eat twice” foundation. It turns a quick weeknight noodle soup into something that tastes like you babysat a stockpot all day, even though your slow cooker did the heavy lifting.
The goal is simple: extract gelatin and deep roasted flavor from bones, then strain and stash it so future-you can make the coziest soups, stews, and chilis on demand.
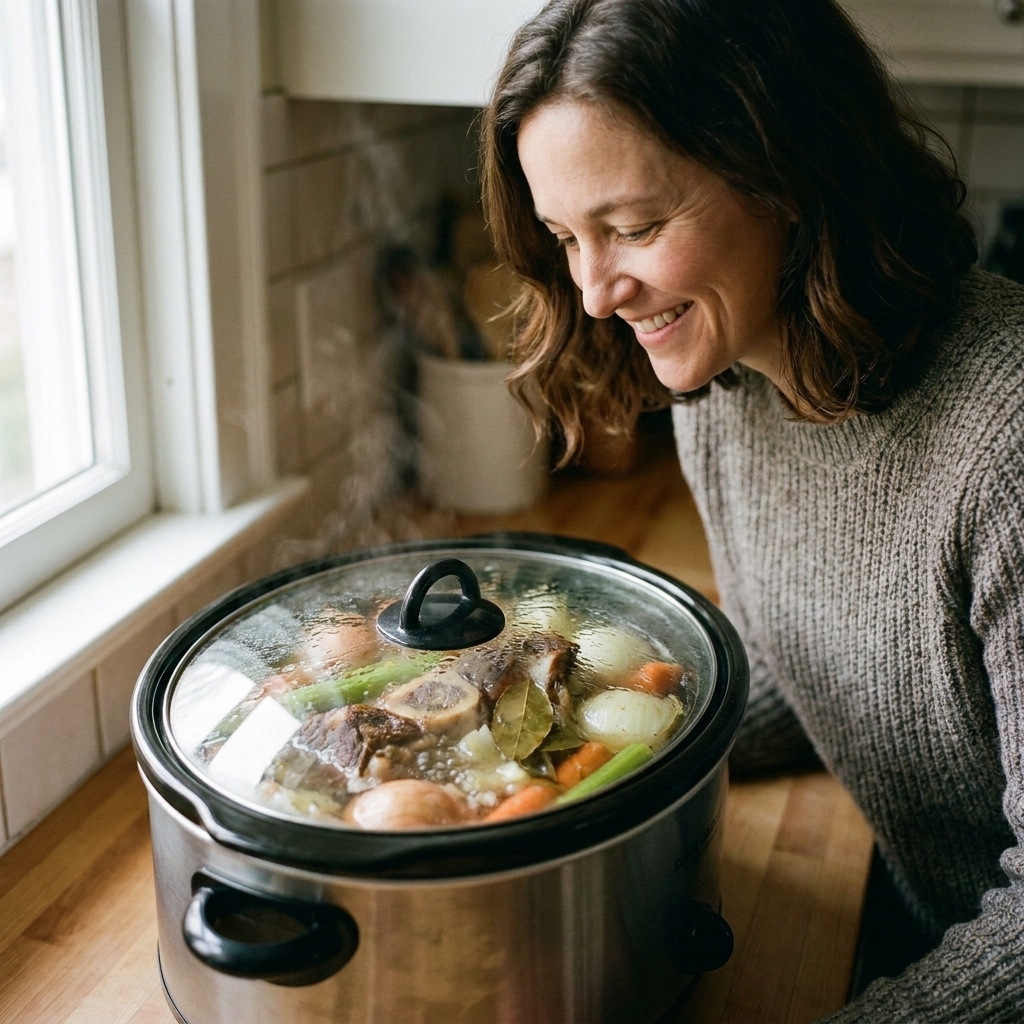
What makes bone broth different
In everyday home cooking, people use “broth” and “stock” interchangeably. Here is how I think about it in the kitchen:
- Broth is often made with meat and cooks faster. It is lighter and more sippable.
- Stock leans on bones and connective tissue for body. It gets that silky, lip-smacking quality that makes soup taste finished.
- Bone broth is essentially a long-simmered stock, usually 18 to 24 hours, focused on extracting collagen from joints, knuckles, feet, and marrow bones.
When it is done right, it sets up like soft Jell-O in the fridge. That jiggle is gelatin, and it melts right back into liquid when you reheat it. Pure gold for soup.
Best bones to use
You can make bone broth with almost any bones, but the texture and flavor depend on what you choose. My favorite approach is a mix.
For beef bone broth
- Knuckles, joints, and oxtail: top-tier collagen and body.
- Marrow bones: rich flavor, but use alongside collagen-heavy bones so it gels.
- Short ribs or meaty soup bones: adds beefy depth and a little extra savoriness.
For chicken bone broth
- Feet: the easiest way to get a firm gel.
- Wings: lots of connective tissue, great flavor.
- Carcasses: perfect for using up roast chicken leftovers.
Clara tip: Ask your butcher for “bones for stock” and mention you want a mix with knuckle or joint bones. They will know exactly what to hand you.
Ingredients
This is less of a fussy recipe and more of a reliable method. Use what you have, keep the ratios roughly in line, and do not stress.
Yield: Usually about 3 to 4 quarts, depending on your slow cooker size, how tightly the bones pack in, and how much the broth reduces.
- 4 to 5 pounds roasted bones (beef or chicken, or a mix)
- 2 tablespoons apple cider vinegar (traditional, and may help slightly lower the pH for better extraction)
- 1 large onion, quartered (skin on is fine, just peel off the papery outer layer)
- 2 carrots, cut into big chunks
- 2 celery stalks, cut into big chunks
- 1 head garlic, halved crosswise (optional but lovely)
- 2 bay leaves
- 1 teaspoon whole black peppercorns
- Cold water to cover by about 1 inch
- Salt to taste (I prefer salting at the end)
Optional add-ins: a small handful of parsley stems, thyme sprigs, a dried mushroom or two for depth, or a strip of kombu for savory boost.
24-hour slow cooker bone broth
1) Roast the bones
Even though the slow cooker is the star here, the oven is where the magic starts.
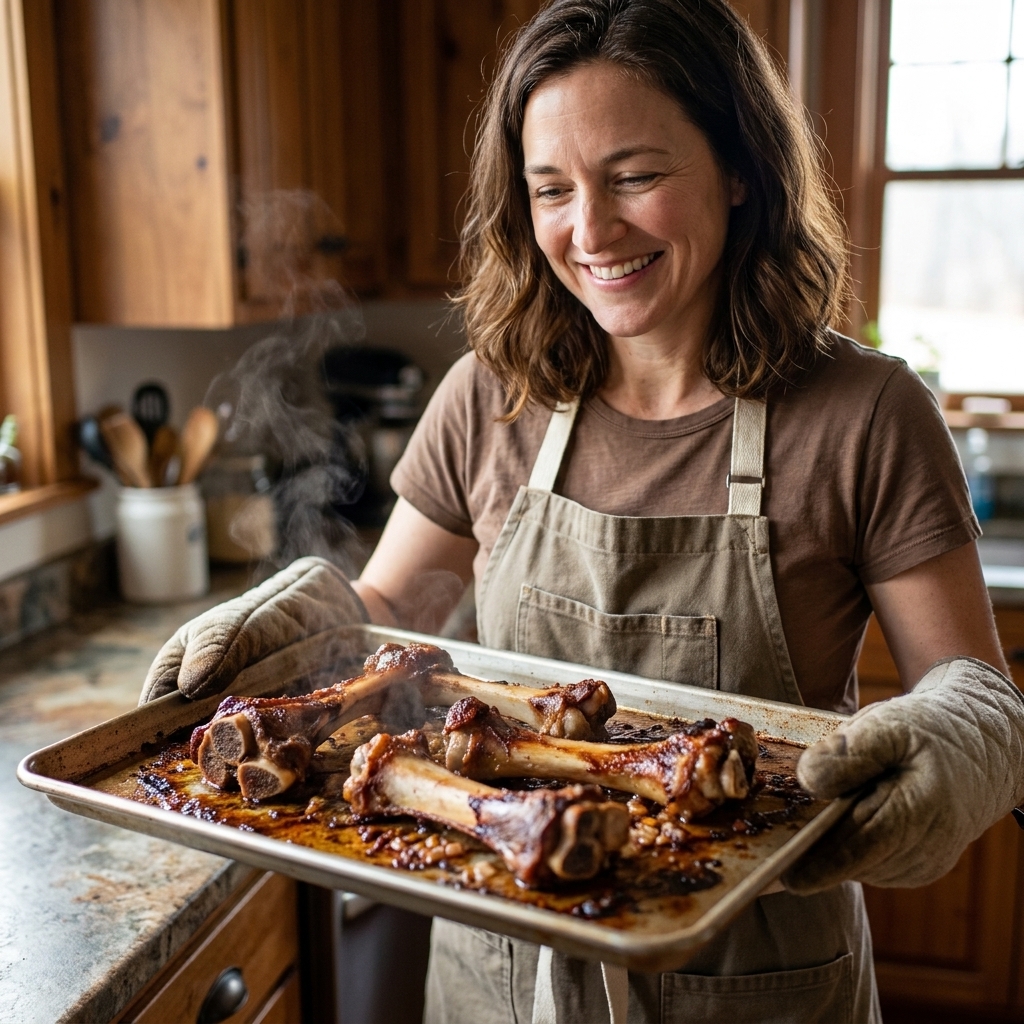
- Heat the oven to 425°F.
- Spread bones on a rimmed baking sheet. Roast 35 to 50 minutes, turning once, until deeply browned.
- If there are browned bits stuck to the pan, splash in a cup of hot water and scrape them up. That is flavor. Save it.
2) Load the slow cooker
- Add roasted bones to a 6-quart slow cooker (or larger).
- Tuck in onion, carrots, celery, garlic, bay leaves, and peppercorns.
- Add vinegar and let everything sit for 20 to 30 minutes before adding water if you have time.
- Pour in cold water to cover the bones by about 1 inch. Do not overfill past the max line.
Quick sizing note: Bones are awkward. If your cooker is on the smaller side of 6 quarts, do not pack it above about three-quarters full once you add water. Less crowding means steadier simmering and fewer spillover surprises.
3) Cook low and long
Cover and cook on LOW for 20 to 24 hours. If your slow cooker runs hot, check at the 18-hour mark. What you want is a gentle simmer, not a hard boil.
Skimming: In the first 1 to 2 hours, you may see some foam. You can skim it off for a cleaner taste, but I will be honest: when life is busy, I skip it and my soups still taste wonderful.
4) Strain and cool safely
- Turn off the slow cooker.
- Use tongs to pull out the big bones and vegetables.
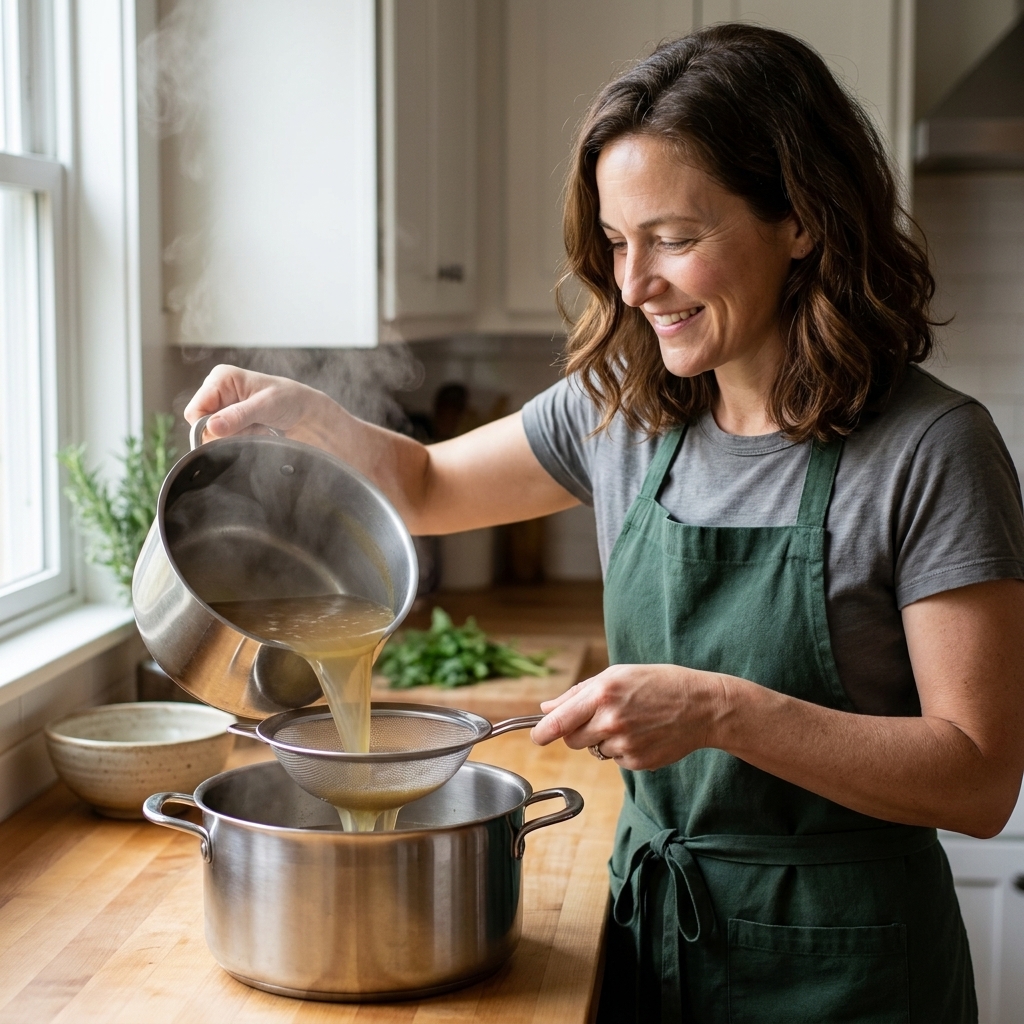
- Pour the broth through a fine mesh strainer into a large pot or bowl. For extra clarity, strain again through cheesecloth.
- Cool it fast: I nest the pot in a sink of ice water and stir for a few minutes, then portion into containers.
Important: Do not put a huge, hot pot straight into the refrigerator. Portion it into smaller containers or use an ice bath so it cools quickly, then refrigerate within about 2 hours.
5) Chill and remove the fat cap
Refrigerate overnight. In the morning you should see a layer of fat on top.
- For beef broth, the fat cap is usually thick. Lift it off with a spoon and save it for roasting potatoes or sautéing onions.
- For chicken broth, the schmaltz is liquid gold for rice, beans, and gravy.
If your broth gels in the fridge, congratulations. You nailed it.
How much water to use
Use enough to cover the bones by about 1 inch. Too much water gives you a thin broth. Too little water can leave you with a reduced, overly intense flavor after a long cook.
If you open the lid and notice the water level dropped below the bones at any point, add hot water to bring it back up. Try not to do this often, since lifting the lid slows cooking, but one quick top-off is totally fine.
How to tell it is done
- Color: deep golden for chicken, rich amber to brown for beef.
- Aroma: roasty and savory, not sharp.
- Body: slightly sticky on the lips when warm, and gelatinous when chilled.
- Bones: will look pale and “spent,” and may crumble easily.
Common problems
My broth did not gel
- Cause: not enough collagen-rich bones.
- Fix next time: add knuckles, joints, chicken feet, wings, or oxtail.
- Good news: it is still delicious and useful. Just reduce it a bit on the stovetop for more body.
It tastes bland
- Cause: under-roasted bones or too much water.
- Fix: simmer uncovered on the stove to reduce by 10 to 25 percent, then salt to taste.
It tastes bitter or acrid
- Cause: too high a simmer for too long, or some bones or drippings got charred.
- Fix next time: keep it at a gentle simmer on LOW and roast bones until browned, not blackened. If you deglaze the roasting pan, leave truly burnt bits behind.
It tastes too veggie-sweet
- Cause: too many carrots or onions for a long cook.
- Fix next time: reduce the carrots, or add vegetables for only the last 8 to 12 hours if your timing allows.
Storage and freezing
In the fridge
Store in airtight containers for up to 5 days.
In the freezer
Freeze for up to 6 months. I like to portion in:
- 2-cup containers for quick soups
- 1-cup containers for sauces, grains, and “save this stew” moments
- Ice cube trays for small boosts of flavor
Clara tip: Leave headspace. Broth expands as it freezes.
How I use it all week
- Sunday: Make the broth and freeze half.
- Monday: Quick chicken noodle soup with whatever vegetables are hanging around.
- Wednesday: Cook rice or farro in bone broth for an instant upgrade.
- Friday: “Clean-out-the-fridge” soup: sauté onions, add leftover roasted veg and shredded chicken, pour in broth, finish with lemon.
FAQ
Do I need vinegar?
You do not have to, but I like it. It is a classic move in long-simmered broths, and it may help a bit with extraction. You will not taste it.
Should I salt it while it cooks?
I usually wait until the end. Since the broth can reduce, salting early can leave you with an over-salted base. If you are sipping it like a mug broth, salt that portion to taste. If you are using it as a soup base, keep it slightly under-salted and season the final dish.
Can I reuse the bones for a second batch?
You can, but the second batch will be noticeably weaker. If you do it, combine the second batch with new bones, or reduce it and use it for cooking grains.
Is it okay to cook longer than 24 hours?
With a slow cooker on LOW, 24 hours is the sweet spot for most home kitchens. Past that, flavors can start to dull or turn a little flat. If you want a stronger broth, reduce it after straining instead of extending the cook.
Can I make it without roasting the bones?
Yes. Unroasted bones give you a lighter, cleaner broth that is great for delicate soups. For the deepest flavor, roast.
No time for 24 hours?
If you have a pressure cooker, you can get a very good broth in about 2 to 3 hours at high pressure (plus natural release). It will not taste exactly the same as a 24-hour slow cooker batch, but it is a solid weeknight-friendly alternative.
Make soup tonight
If you have fresh bone broth on hand, you are about 20 minutes away from dinner. Sauté onion, carrot, and celery in a little fat cap from the broth, pour in 6 cups of broth, add noodles or rice, and toss in shredded chicken or white beans. Finish with a squeeze of lemon and a handful of herbs.
And please, do yourself a favor and serve it with something crusty for dunking. I will be over here, still hunting for the perfect loaf.